If a VOCOM II device is connected via USB to the computer but is not being detected, then use the connectivity check in the VOCOM II Configurator application to identify potential issues.
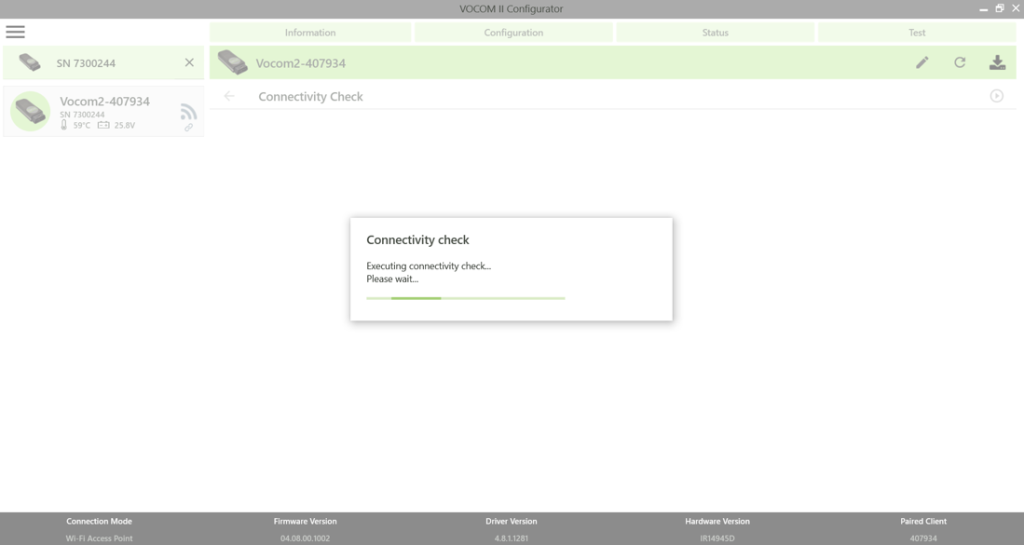
To start the connectivity check, click on Menu and then click on Connectivity Check.
The connectivity check starts running immediately after clicking the Connectivity Check option.
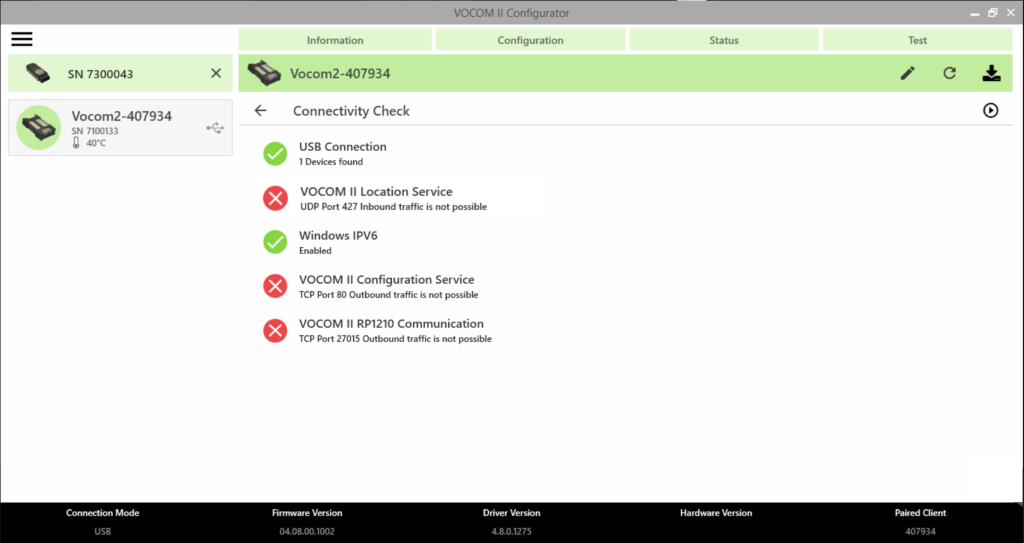
In the below example, a VOCOM II Tough is paired with the computer via USB and hence running a connectivity check returns the result as shown in the image.
The connectivity check results contain the following information:
USB Connection
VOCOM II Location Service
Windows IPV6
VOCOM II Configuration Service
VOCOM II RP1210 Communication
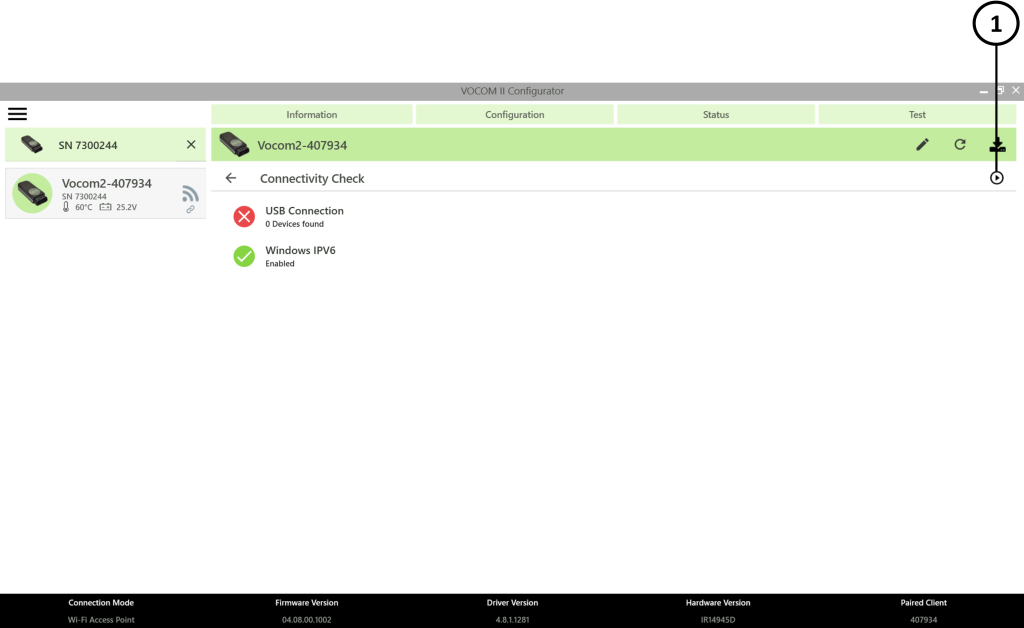
In the below example, a VOCOM II Mini was paired with the computer and therefore the connectivity check result shows the USB connection failed. Therefore, Connectivity check is applicable only to VOCOM II Tough devices when connected to the computer using USB cable.
Start connectivity check
The user can click on the “start connectivity check” button to run the test anytime.